
So every summer I plan a wood working project and this year I went big with this 7′ X 5′ six person gaming table. I had been thinking about a gaming table for a couple years when I came across this youtube video. Now I will say that a table of this size takes a decent budget and a lot of tools to complete. I wont go into specific costs as prices very by material and region. After finding a set of designs another person made based on this table I went to work. (By the way, verify all dimensions before building… I found a few discrepancies that I had to modify during pre-construction)

 After reconsidering using Hickory due to cost and staining issues I decided to use a combination of quality and select Pine boards. If you have a home depot, menards or Lowes in your area you can find a good selection of select pine boards at a affordable price, but you will have to spend some time searching through warped planks. I recommend finding a lumber yard that deals exclusively with lumber, pricing will vary but you’ll be happier with what you find.


The first thing I started with where the legs and lower frame, and look! Its level!!


At this stage I laid out some of the surface frame work.
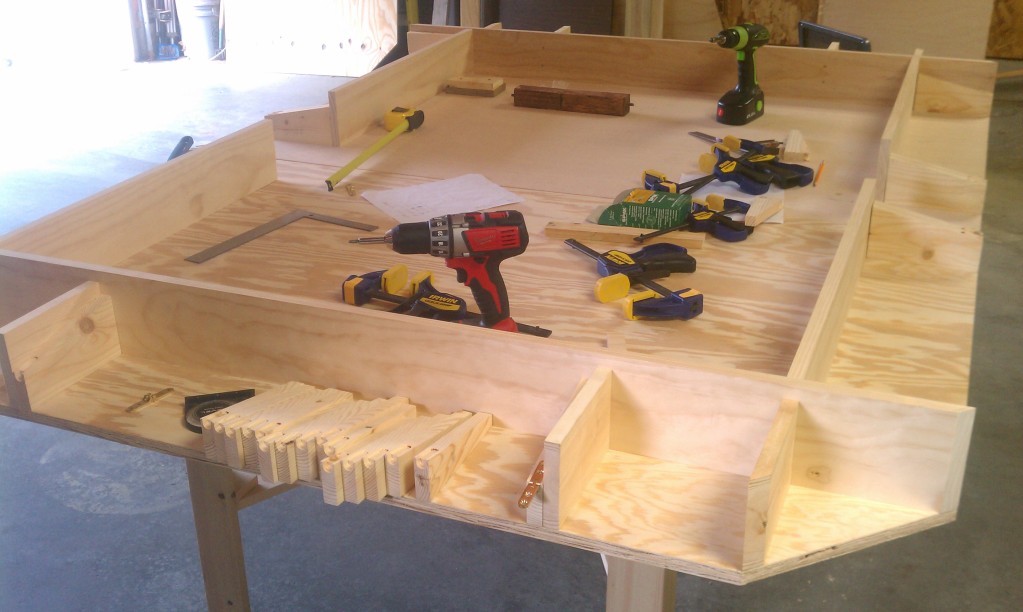
Now all of the main pieces have been cut and partially assembled. Note all of the hinge pieces routed for the hinges.

Boy that looks pretty doesn’t it? well it was a pain in the but to get it to fit that nicely.
 As with most things in this world, the hinges came from China and of course they where not a half inch wide. Luckily for me my dad is a machinist and has a milling machine in his shop, so he shaved both sides down to make the hinge actually .50 ” wide.

Here is a shot of the center joint, note the two different plywood sheets. Unhappy with the crap home depot had on hand they gave me a cabinet grade sheet for the same price. Now I wish I had just bought cabinet grade plywood for both ends of the table, but it isnt an issue. Also the board to the back is removable for disassemble of the table.

Assembly of the top section and the fold down desk.

The table completely assembled and nearly ready for stain. Time to sand!
 First coat of stain

Too finish the look of the table I decided against doing a poker felt lined insert for the center. Instead I chose a 1/2″ Black Foamboard cut down to fit the 4 X 6′ center playing surface. I hope you enjoyed my project, let me know what you think.
